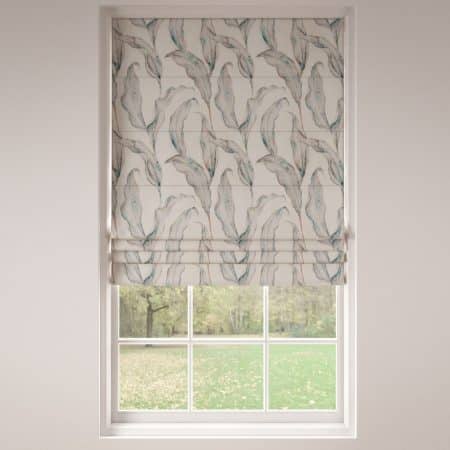
Lets talk Roman Blinds…
Roman Blinds are a fantastic way of dressing any window, no matter the size.
Here at Low Woods, we make bespoke Roman Blinds on both wooden battens (the traditional 1×1″ batten, with cord pulls, along with a cleat and acorn), as well as the ever popular metal track systems (modern metal header rail, with a chain side winder pulley) which are all made within our on-site courtyard sewing room.
Our metal track, chain operated systems make roman blinds effortless. Seamless chain side winder, which allows you to stop the blind at any point for complete ease, and click lock brackets, making it easier than ever to fit.
Find out just how easy, by following our three easy steps to installing a roman blind on a metal track system below:
Step One: Installing the Brackets

Our duel purpose, click lock brackets have preset holes, which enable you to fit the brackets to the wall or ceiling. Depending on whether you desire your blind to fit within or outside of the window recess.

Once the brackets are installed, make sure that the leaver at the top of the bracket is facing out to insure you are ready for step two.
Step Two: Attaching the Track to the Brackets

Now the brackets are in place, you are now ready to fit the track. Remove the top of the blind from the track to enable visibility during the install.

You can do this with ease by releasing the blind from the header rail, along the velcro strip.

With the velcro strip facing you, the front lip of the blind sits on the bracket arms.
Step Three: Locking the Track into Place

With the track resting on the bracket arms, it is now time to complete the final steps. By simply pushing the leaver in towards the track, this secures the blind into place.

Repeat this for every bracket required along your length of track.

Now the blind is secure, re-attach the top of the blind to the velcro strip on the header rail.
…and just like that, 1, 2, 3 your install is complete.
Roman Blinds, without the hassle.


